


My Giant Paper Mache Eyeballs
and how and why I made them!

Hi ~beloved subscribers~,
What a freaking MONTH—I’ve gained so many new subscribers since my Tiktok about scrapbooking went a little crazy. Thank you guys for being here! I’m so happy to be reaching more likeminded crafty people. I hope you’ll stay, 1. because I love writing this newsletter, and 2. because I finally hit 1,000 subs and I really don’t want to dip back down below that. Being famous just feels so good. Please understand. <3

This month, I’ve written about these giant paper mache eyeballs I finally finished—they’re not for anything in particular, they were just a “f*ck it, we ball” craft. Before I get into that, some updates…
Lately, I’ve been prepping to move apartments (I found a place and it’s a perfect blank canvas so please expect some decorating posts in the future!!! Joybird Send Me a Couch Challenge starts soon).

I also HAVE A NEW WEBSITE!!!! Including recent work, an archive, and a timeline of my work so far (from my lightly embarrassing eras to now) curated with a lot of care—when I look at it, I feel like I have a bird’s eye view of my career; I can see the progression from my Rookie Mag days all the way to now and it feels good. I’m really proud of the way it turned out! Exciting things!
Before I get into the meat(y eyeballs) of this newsletter, I wanted to mention that $7/mo gets you access to my paid newsletter, where I write more in depth about my career and inspirations and generally just give you a bit more. Because it’s pride month and I’m very gay, I’m going to send out a list of my favorite queer artists of all time, and write a bit about each of them. Should be inspiring and fun. <3 I’d love to have you!
I’ve wanted to make a paper mache eyeball for years now—I glimpsed one in the background of my favorite documentary, Beauty Is Embarrassing, about the Peewee’s Playhouse set designer and fine art painter Wayne White. I can’t find the clip right now, but I swear this king had a giant eyeball on a stick in the background of one of the shots, and I really latched onto it.
I love paper mache but it often dries in a really crunchy, uneven way that’s not conducive to a SMOOTH EYEBALL TEXTURE. But when I found an amazing paper mache tutorial by artist Margot DeMarco, I was gagged. She doesn’t have the exact tutorial up anymore, but I have the recipe written down in my notes because I use it so often. (I also compared it against this similar recipe that I found online.) This paper mache recipe dries clear and super glossy, and using brown paper bags instead of newspaper gives your object a thick, nearly uniform surface that is just so nice.
Papier Mâché recipe
1/2 cup cornstarch
1/2 cup lukewarm water
3 cups boiling water
Brown paper bags
Instructions
-Mix cornstarch and lukewarm water with a fork until it forms a homogenous, milky liquid.
-When the water reaches a rapid boil, pour it QUICKLY into the mixture while stirring with a fork. This is super important to make sure the chemical reaction happens and creates nice goop.
-Let the mixture cool while you rip brown paper bags into strips (don’t use scissors, because raw edges best for absorbing the goop)
-Once it’s cooled, coat strips in the mache goop, crumple them slightly, let them sit on a plate for a few minutes to really absorb the goop.
-Then add them to the object that you’re paper mache-ing on top of (mine was a big balloon). You can scoop out more goop to use to smooth over the paper you’re adhering.
my process
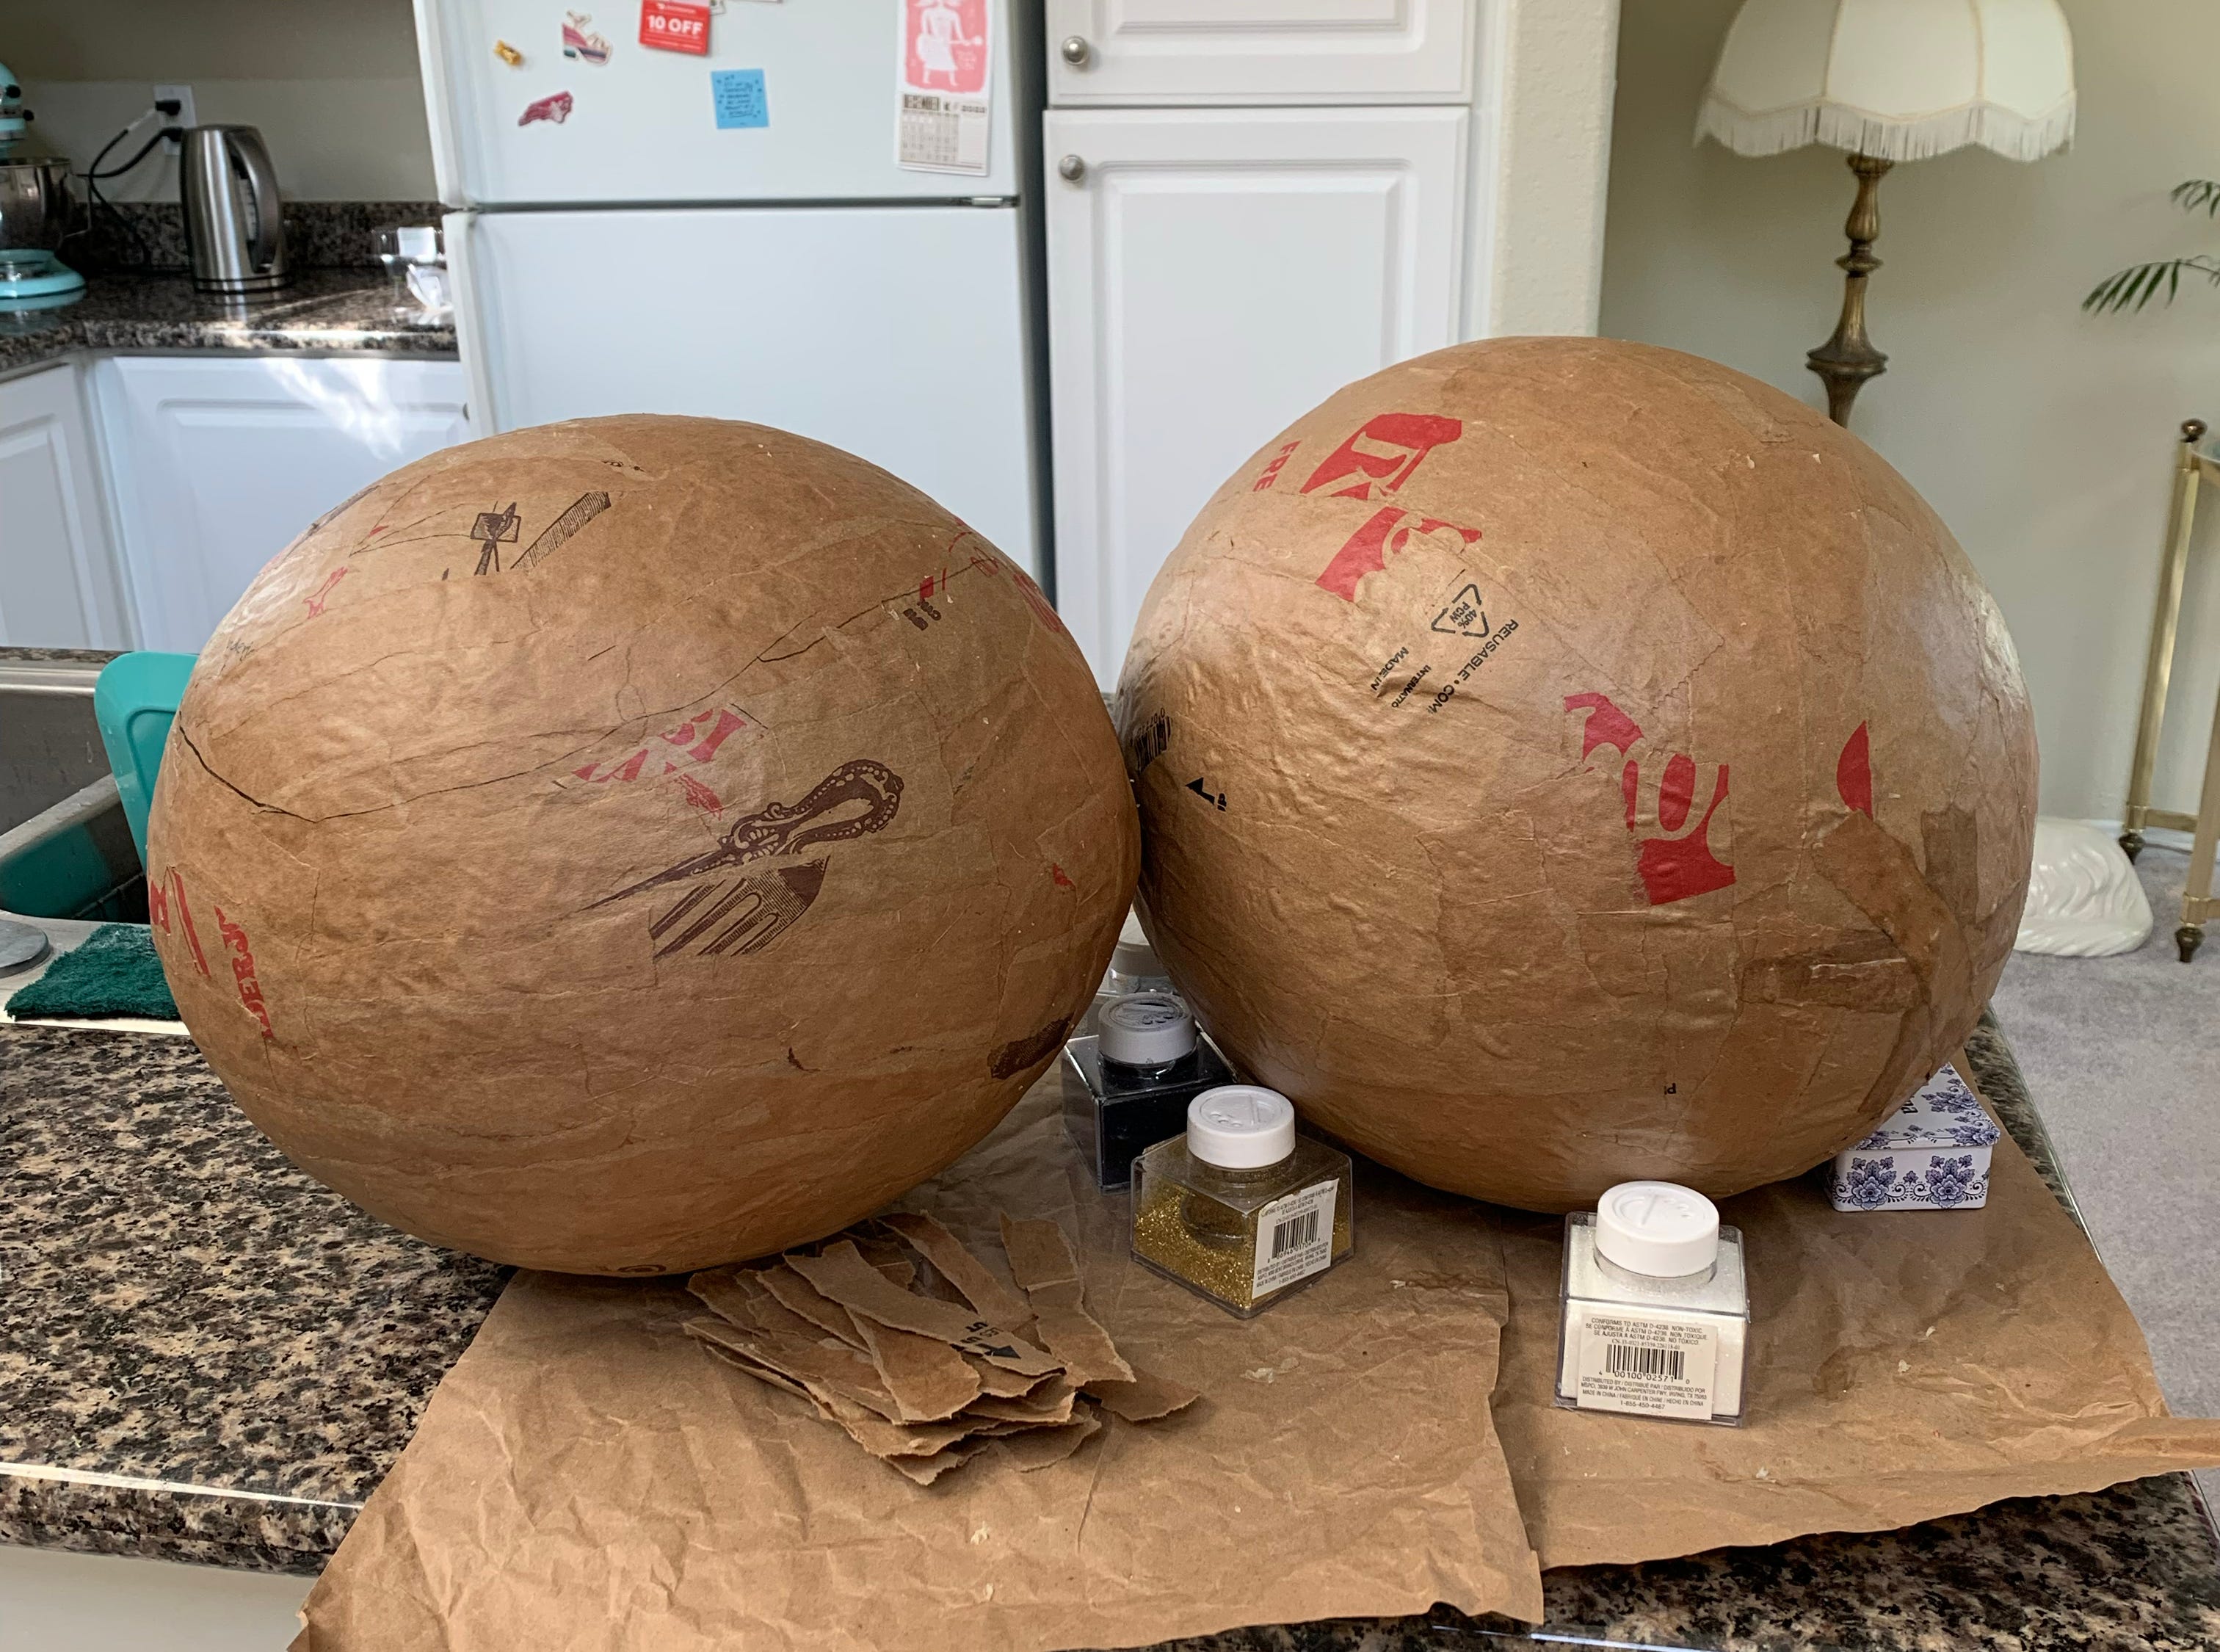
I blew up two punch balloons, like these. I like them because they’re slightly more spherical than your average balloon. Then I started putting my goopy strips of brown paper onto them, waiting for each side to dry and rotating them like rotisserie chickens to fill in the gaps. 🐔 I made sure to avoid the balloon knot.
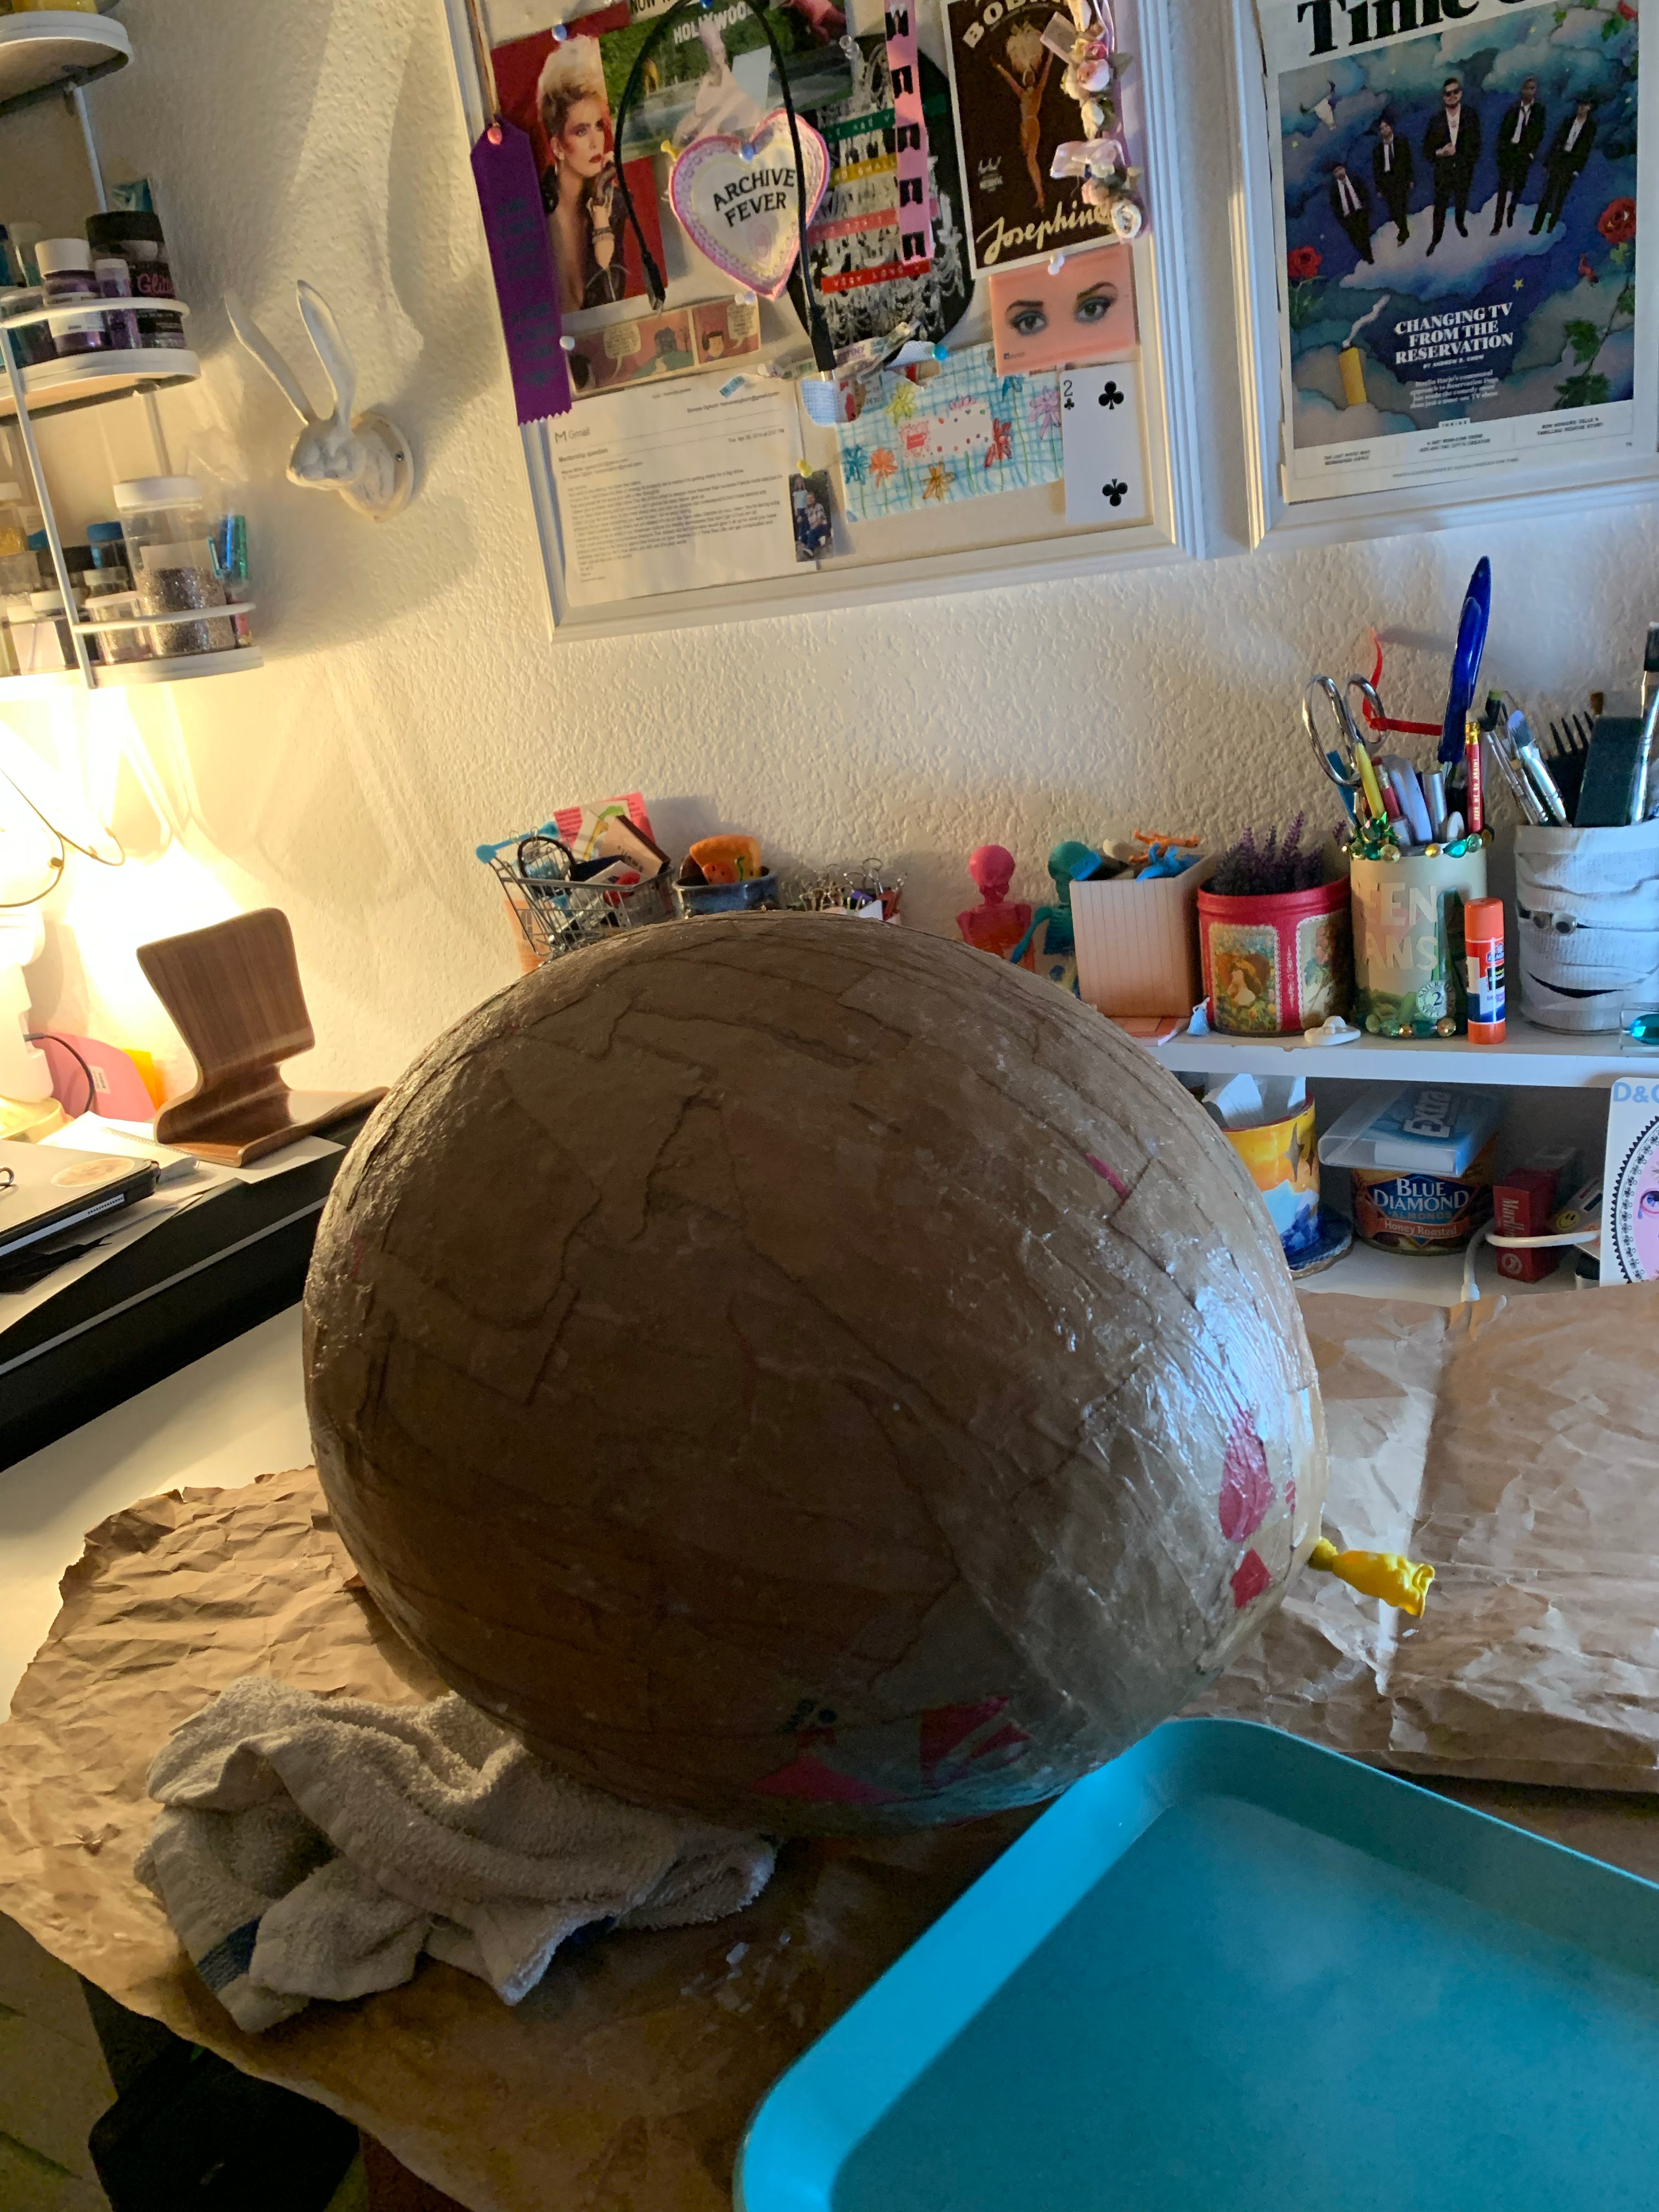
I gave my balloons three coats of paper mache each (it took like 10 hours of work, I know because I rewatched all of season one of The Righteous Gemstones). After the third coat, I popped the balloon with a needle while holding the knot with a pair of needle nose pliers so I could extract it from the paper mache shell <3 it was so satisfying. Then I patched the hole with more paper mache (you can see in the below photo on the right side of the right eyeball where I patched it).
Then I thought, why not make my life a messy hell by creating a 3D eyelid? So I used a boxcutter to cut long wedges of a pool noodle, and hot glued them to the eyeball roughly in the position of a top and bottom eyelid. I filled in behind them with crumpled newspaper, and taped over it to smooth it out.

And then I freaking paper mache’d over them.

Then obviously I painted them. I used latex house paint for some of it and acrylic for other parts—I don’t think it really matters.
I made the eyelashes by cutting and spray painting some thick silver wire black.

I had to perforate the “hair follicles” (TW body horror!!!!!) by tapping a small nail into the lash line every few inches. Then I inserted the wire lashes with a little dot of hot glue.

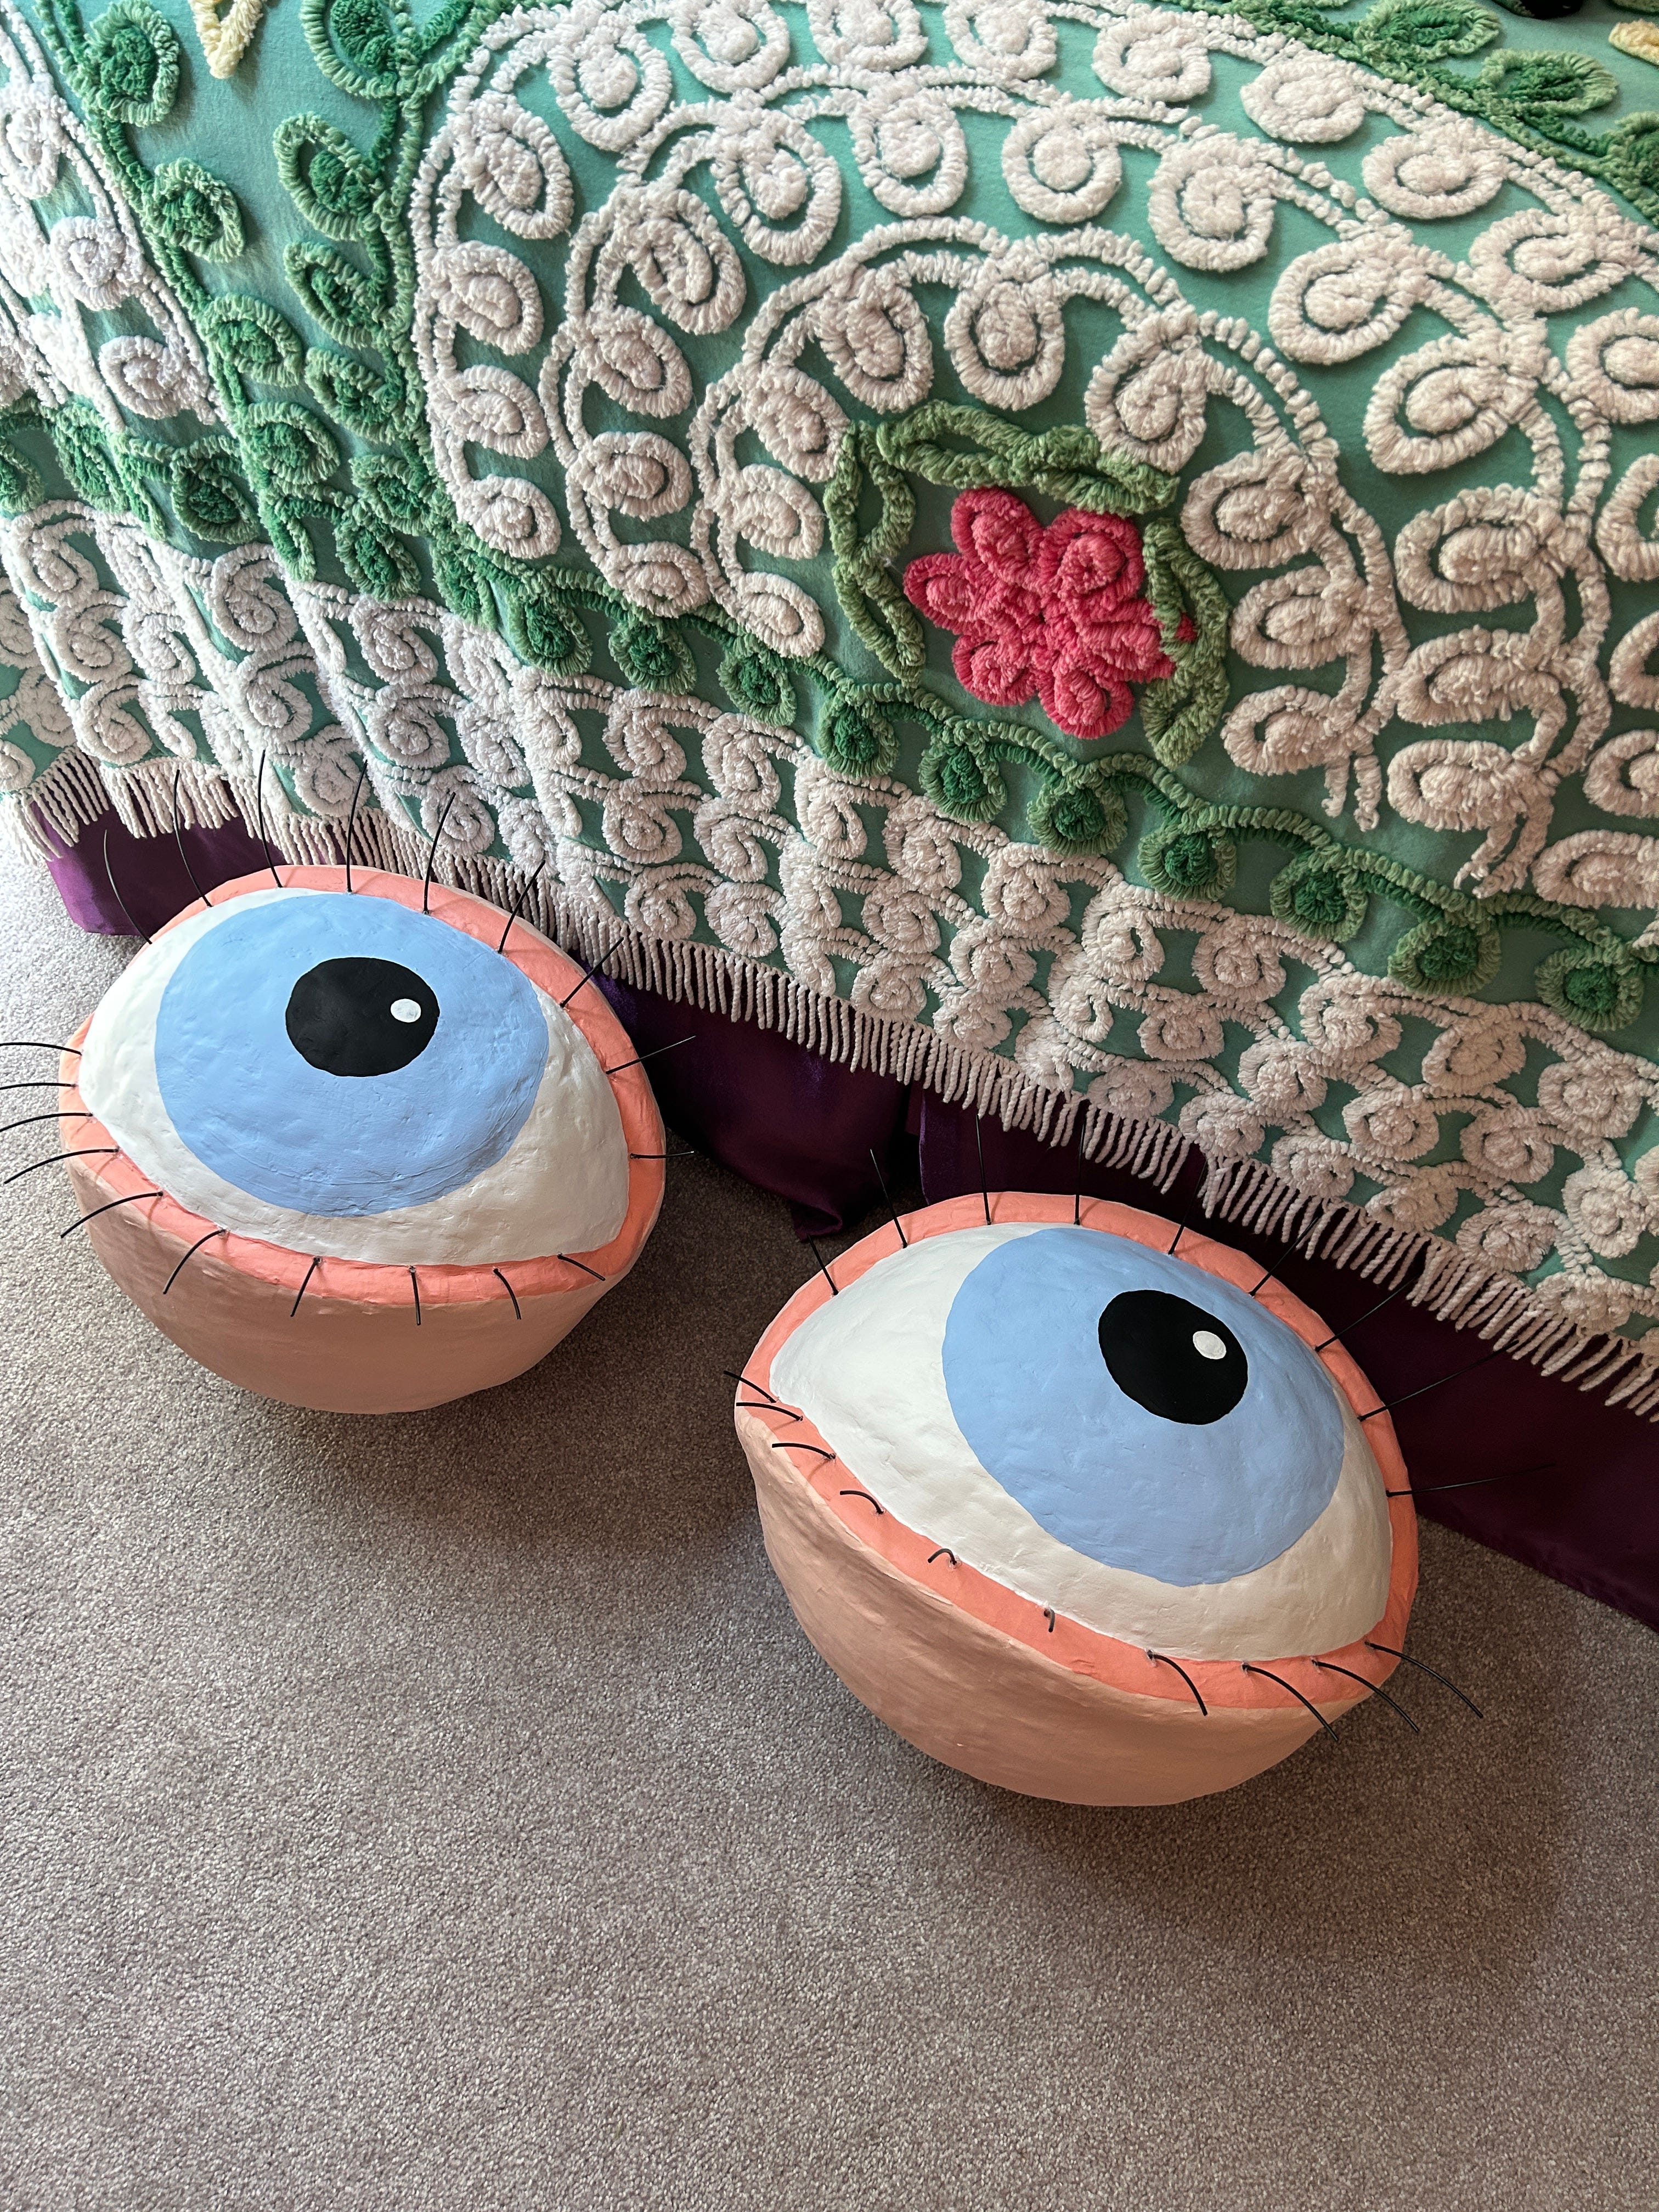
Anyway, I love the way they came out—top heavy and charmingly lumpy, lol. I really just made them to satisfy an itch to have giant eyeballs, but I think they’ll photograph really well if I can figure out what to do with them. YAY
That’s all I have for you this time!!! Paid letter will go out on Friday and I hope to see some of you there <3 Thank you for being here!
