Scrapbooking 101
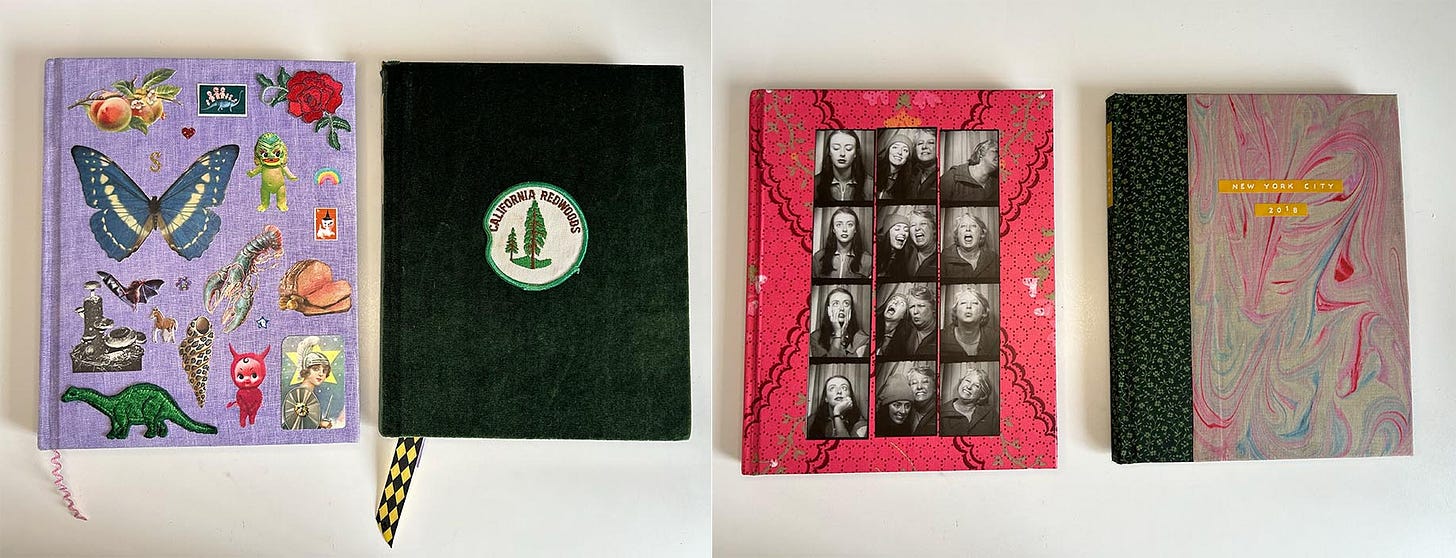
I've archived the past 7 years of my life in collaged BOOKS!
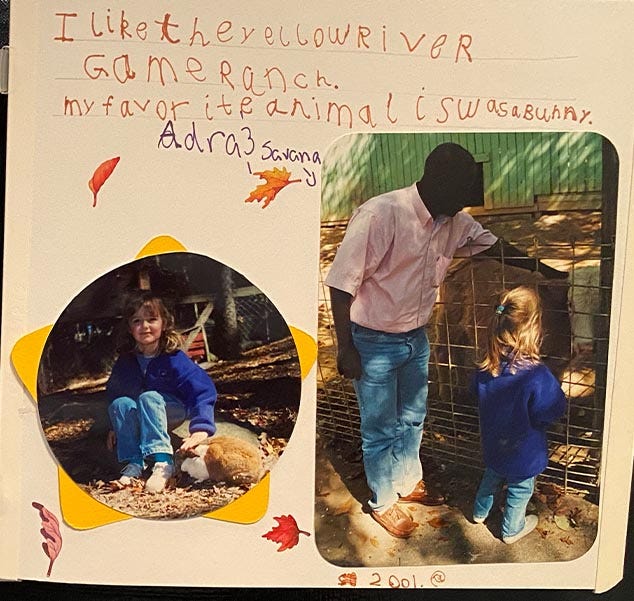
When I was a kid, my weeks were punctuated with my mom’s crops—weekly parties where she would fill up big bowls of M&Ms, set up big folding tables in the basement, and have friends over to work on their scrapbooks together. I loved these nights because my dad would take me and my brother to Blockbuster, and we’d watch movies and hang out upstairs (read: stay out of my mom’s way).
My mom was in the business of selling scrapbooking gear through a major MLM and these crops were a way for her to socialize and work on her books, and also to sell fancy tape runners and Mrs. Grossman stickers (we both agree now that these are some of the UGLIEST stickers of the era). This specific MLM was twisted in the same way that all MLMs are, but bitch, if my mom handing me a mini scrapbook at age 6 didn’t teach me about the importance of archival materials and good penmanship!! (I have of course eschewed this knowledge in favor of mostly doing whatever I want.)

Of course I fell out of practice as a teenager—scrapbooking certainly wasn’t my top choice for recreational fun when I had the internet and a budding obsession with emo music and Tumblr. But I was obsessively documenting my life and putting it online in aestheticized ways. And is that not the heart of what scrapbooking is?
In college, I started carrying my 35mm film camera with me almost everywhere, documenting my friends and my spaces and generally being very sentimental. I realized at a certain point that so many of those photos ended up just sitting on my hard drive, collecting dust. I decided to get back on the horse and compile them into a book, and collage it and use it as a space to dump all of my packrat ephemera.
I’ve been doing these books since 2016 and it’s been incredibly gratifying to see years of romanticized and highly curated documentation of my life. I’m going to walk you through the process of how I make my scrapbooks—from how I approach taking the photos to how to I physically alter the books.
Photos & Making an *EDIT*
I typically opt to use primarily 35mm film photos in my scrapbook—it costs MONEY to shoot and develop them, so the images are always better because I’m more sparing with what I choose to document. This also makes culling selects to put into the book so much easier than going through thousands of iPhone photos (though I’ll sometimes use them too if it’s what I’ve got, or if it aids the story I’m trying to tell).
I edit the photos quick, if at all, to make the colors poppy or lighten things up. I don’t spend much time doing this because 1. I’m the primary audience for my scrapbooks, and I’m not trying to make money off of them or knock anyone’s socks off, so who cares if they’re perfect, and 2. If I’m a perfectionist about it, it’ll NEVER get finished because there’s not money on the line or people depending on me like there would be for a job/actual photo project. Fast and loose is the name of the game here.
I pick the best photos from each roll and put them in a separate folder of selects that I want to use in the scrapbook.
Designing the Book

I use an online book-creating site called Blurb because I really like the quality of their products and they run sales all the time, so I never order a book without at least a 30% off coupon. (I’ve done sponsored content for Blurb in the past, but this is not that. I am genuinely into it). Because this is not an ad, I’ll say this: you can do the same thing from sites like Shutterfly or hell, probably even Walgreens. Explore your options and find something that fits in your budget! I started using Blurb because one of my college professors recommended them to me. Shout out to Forest!
Blurb has a free software called Bookwright that you’ll use to design the book itself. It’s super easy—I like to plug in scanned ephemera/patterned paper to use as backgrounds for my pages. You will NEVER see a white page in my scrapbook!!!!
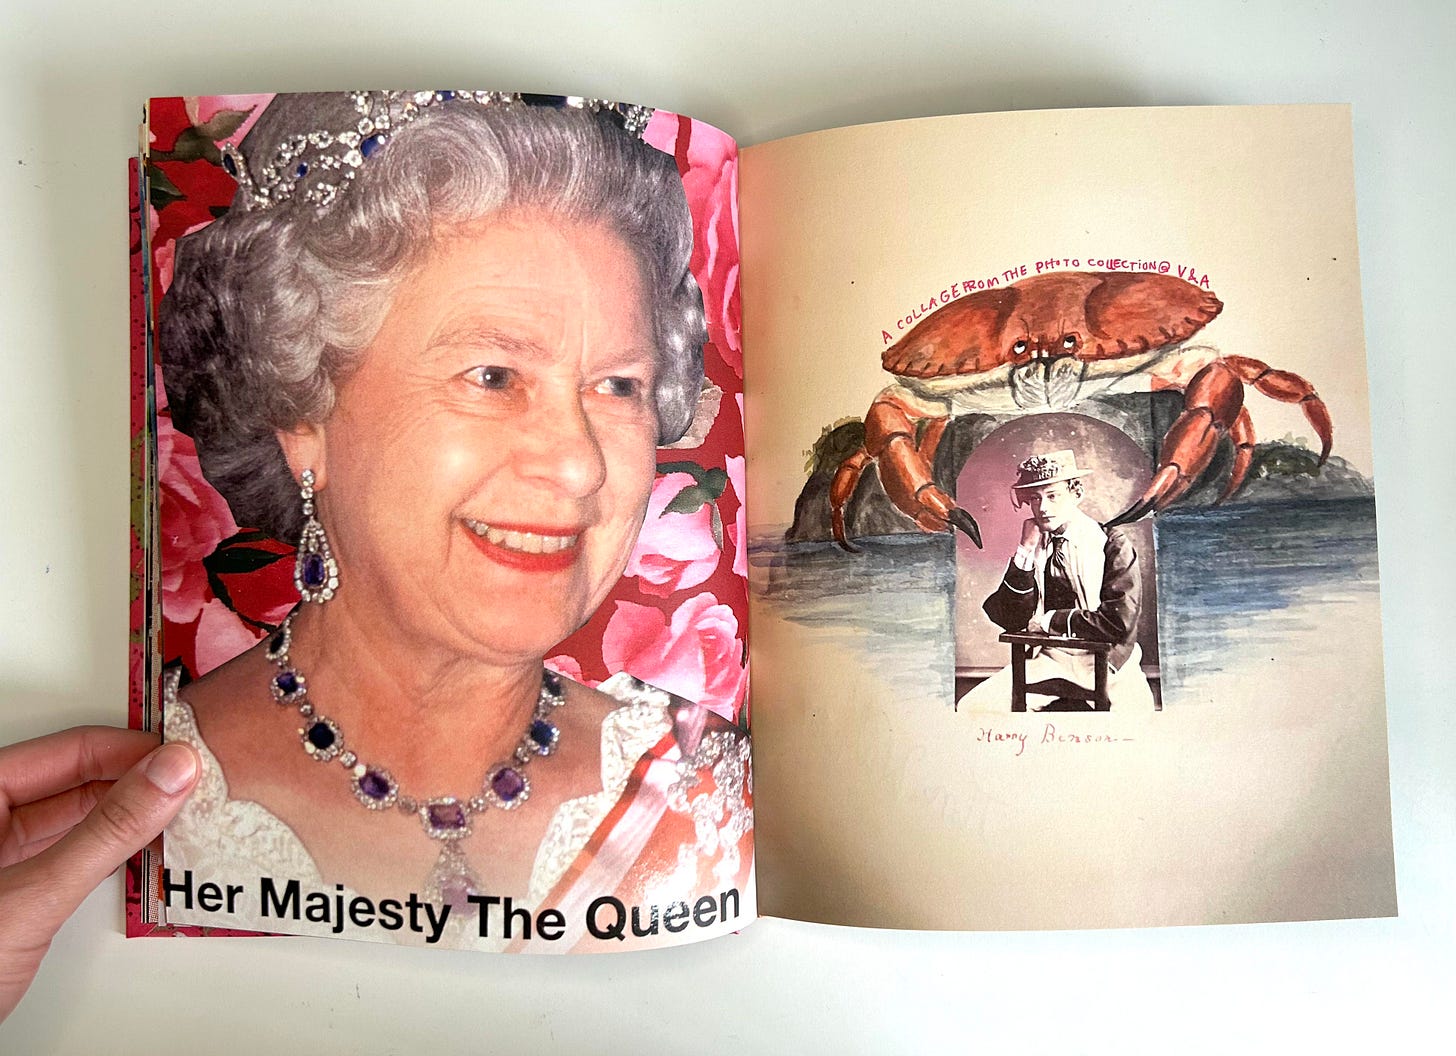
Then I upload the actual photos and throw them into spreads in a roughly chronological order. I intersperse some pages without photos here and there so I can paste in physical ephemera later. Then I order the book! I like to get matte pages so I can use crayon and colored pencils on it later.
Customize the Cover
I’m a big fan of bookmaking generally and have always loved the process of adding fabric covers. I’ve used printed muslin, velvet, cotton, and linen. I like this tutorial; it has really masc and chaotic energy for a video about crafts but it works.
Note: When designing the book online, I always leave page 1 blank, and use pages 2-3 as “endpapers”. That way, when I cover the book with fabric, I can glue page 1 to the inside of the front cover to hold down the ends of the fabric. When you watch the tutorial above, it’ll make sense.

I prefer using acid free archival glue, called PVA, for this purpose, and sometimes after it’s dry, or after I’ve finished all of the contents of the scrapbook, I’ll add things like patches, or glue on a plastic label. I also love adding ribbon bookmarks! They’re especially helpful when you’re customizing the inside of the book to remember where you left off.
Customizing the Inside
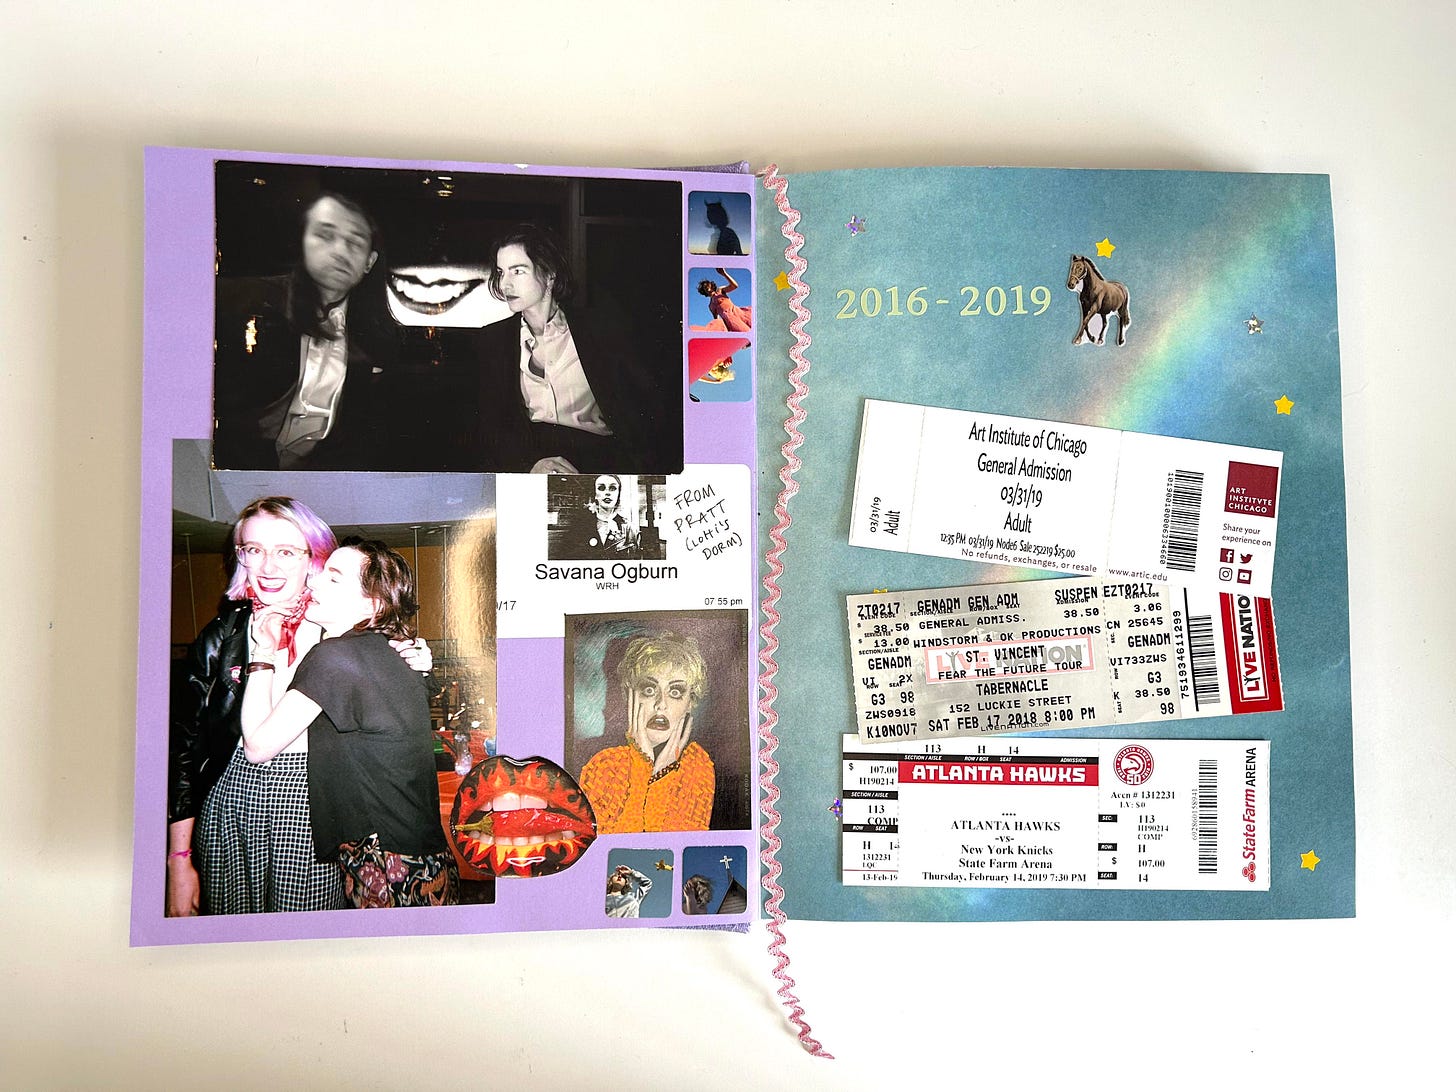
Talk about fast and loose: I give myself 30 minutes per spread when I’m working on these books. To some people, that might sound rigid, and NOT like a fun recreational activity, but it forces me to just spew out whatever text and decorations that need to go on the page without being overly precious. I think it’s really about quantity over quality in this case—I’m talking about MEMORIES, people!!!! Not fine art!!!!
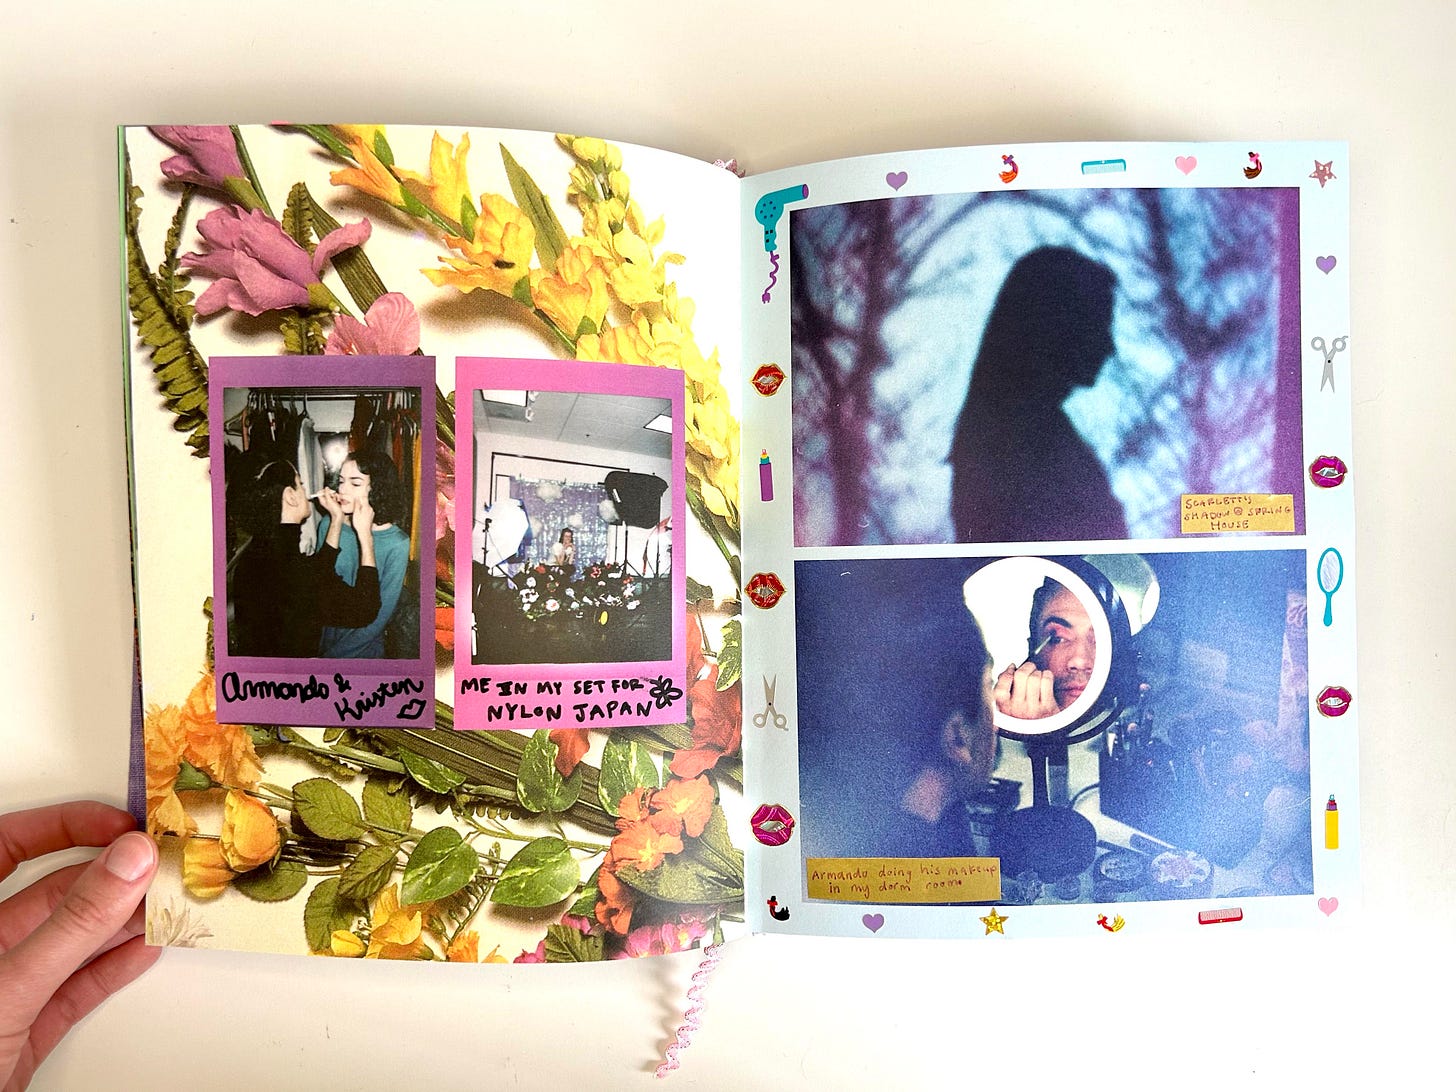
I love using Posca Markers, crayons, colored pencils, gel pens, washi tape, stickers, and so much ribbon. I like using PVA glue when I have the time to let something sit to dry, but TBH I’ll hot glue right onto the page. IDC. I also love Alvin double stick tape—also an archival option that I was put onto at art school. If I forgot to put in a specific image when I was designing the book, I’ll print it out and “tip it in” as they say (read: literally just tape it into the book).
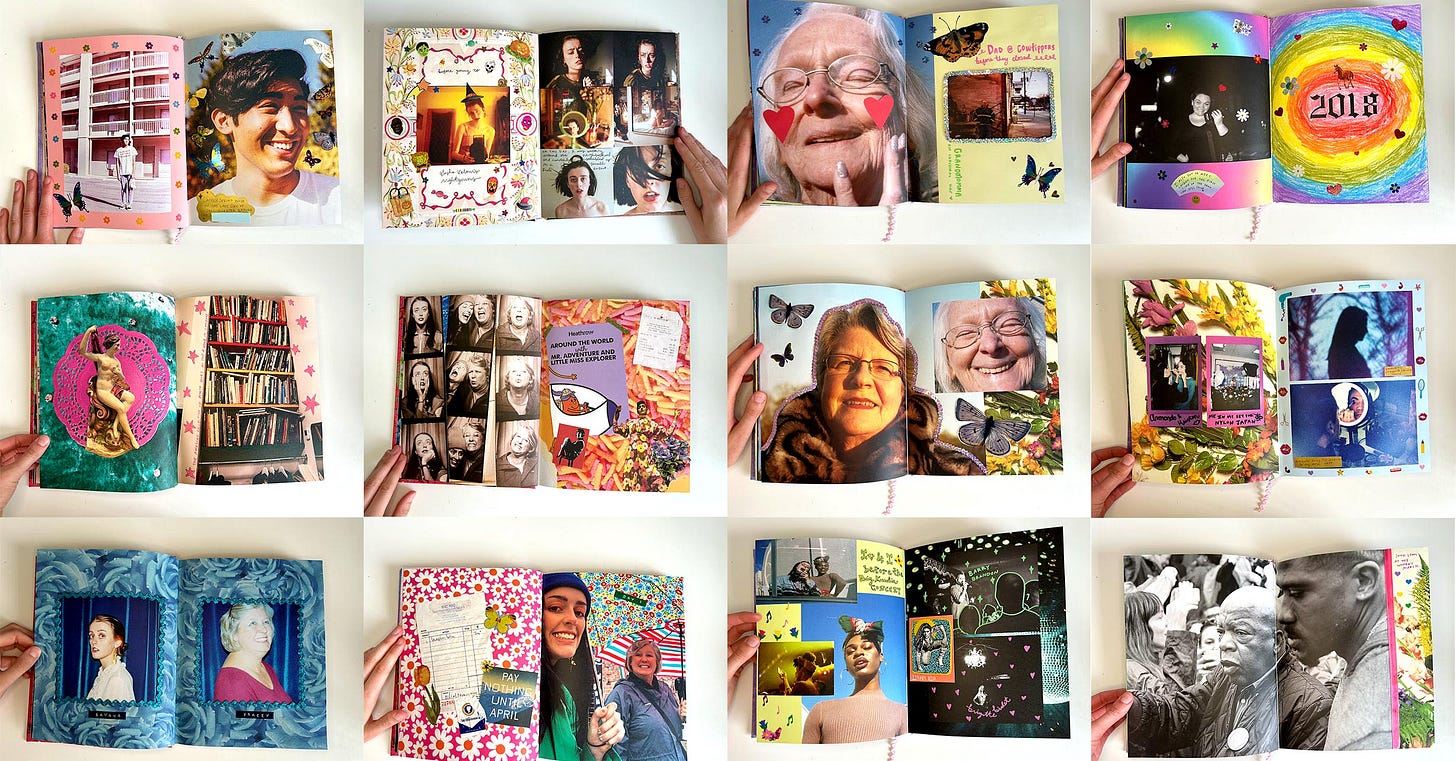
This is truly such a simple process that requires NO fancy tools, just a little cash and patience and a slightly insane desire to have tomes filled with your precious memories. I love looking back at these books and do it relatively frequently. It’s also gratifying when a friend comes over and I get to show them their face covered in butterfly stickers from a photo I took of them 5 years ago that they’ve likely never seen!!!! How fun to immortalize your friends!
Anyway, that’s all I’ve got this time. It’s a busy month! If you love the newsletter, please consider joining the paid tier for $7/month. This month, I’ll be writing about how to politely ask for things in your career as an artist—advice, help, free work, a recommendation. It’s simple but damn have I both fumbled the bag AND been on the receiving end of demonically fumbled bags—don’t let this be you!
Thank you as always, so much, for being here! If you have questions or requests, never hesitate to email me back :-)



I love this!! Been following you since Rookie Mag days and made something similar back in 2019. Am inspired to start again 🌠
Hi! I’m curious what size do you use for your books? 😇